

I was surprised to discover that I have written many times about Supta Virasana (reclining hero pose). Recently I’ve been thinking about what a key prep pose it is for pranayama. This older post has some good details, though, and I’ll try not to repeat them.
I always thought of it as largely a quad stretch, and yes, the quads are the muscles that are screaming the loudest, at least for me. But it’s a wonderful way to open up the psoas muscles, which run down the inside of your spine from the middle of your back and then connect to your femurs. The diaphragm and the psoas muscles attach in the same place, at the 12th thoracic vertebra, and these muscles interdigitate. I love that word. It means they connect like fingers holding hands. So when you stretch the psoas, you’re also stretching the roots of the diaphragm. Then your upper chest also opens, and your breathing becomes easy and free.
When to put on the brakes
In any yoga pose, if you have pain, STOP. Back off. Learn to distinguish between danger pain and the sensation of stretching. Most of the troubles people have with Virasana have to do with inflexible quads and ankles. Approach the pose slowly, using props as needed. If your knees are in pain, either stop or find a way to prop yourself to remove the pain. If your quads are screaming at you, see if you can back off a bit so that your body is not defending itself against pain.
Contraindications
If you have injuries to your ankles or knees, avoid this pose except in the presence of an experienced teacher (i.e., don’t try to do it a Zoom class, or from an article like this one).
Here’s a useful link to a terrific yoga blog post describing the difference between “good pain” and “bad pain”.
Key alignment points
These points hold for both Virasana (seated) and Supta Virasana (reclining). You might not be able to achieve them all, but you can work in these directions.
- Knees are drawn together so that inner thighs touch; feet are apart so that they are on the outside of your hips.
- Feet are pointing straight back, not out to the side or curved in towards each other.
- Body is equally balanced on both sides. In Supta Virasana you can look down and see that you are straight. Also look at your chest – is one side more lifted than the other?
- Your head is in line with your spine. In Supta Virasana, make sure you have sufficient head support that your chin is not pointing toward the ceiling but not so much that it’s jammed down toward your chest.
- As you stretch back over your support for Supta Virasana, extend your tailbone down and in, and your upper spine up and back. (We never just lie down in yoga, do we?)
Prep
There are loads of good prep poses for Supta Virasana, such as Setubandha Sarvangasana (bridge pose), upright lunge, Bharadhvajasana (seated twist), and more. I’m not going to go into those here. However, if you can’t do plain old Virasana (hero pose), then you won’t be able to do the supta (reclining) version.


Start high, learn to relax
Unless you know you are very flexible, start higher than you need to, and gradually work your way down.
The high-knee problem
If I’m not properly warmed up, when I get into my final pose, my down-leg knee is often off the floor. I remind myself to relax, don’t freak out about the quad stretch, and after a minute or so my thigh settles down and my knee comes to the floor. It always amazes me! Once it’s on the floor, I really can relax and stay for a while in the pose.
To get into the reclining pose:
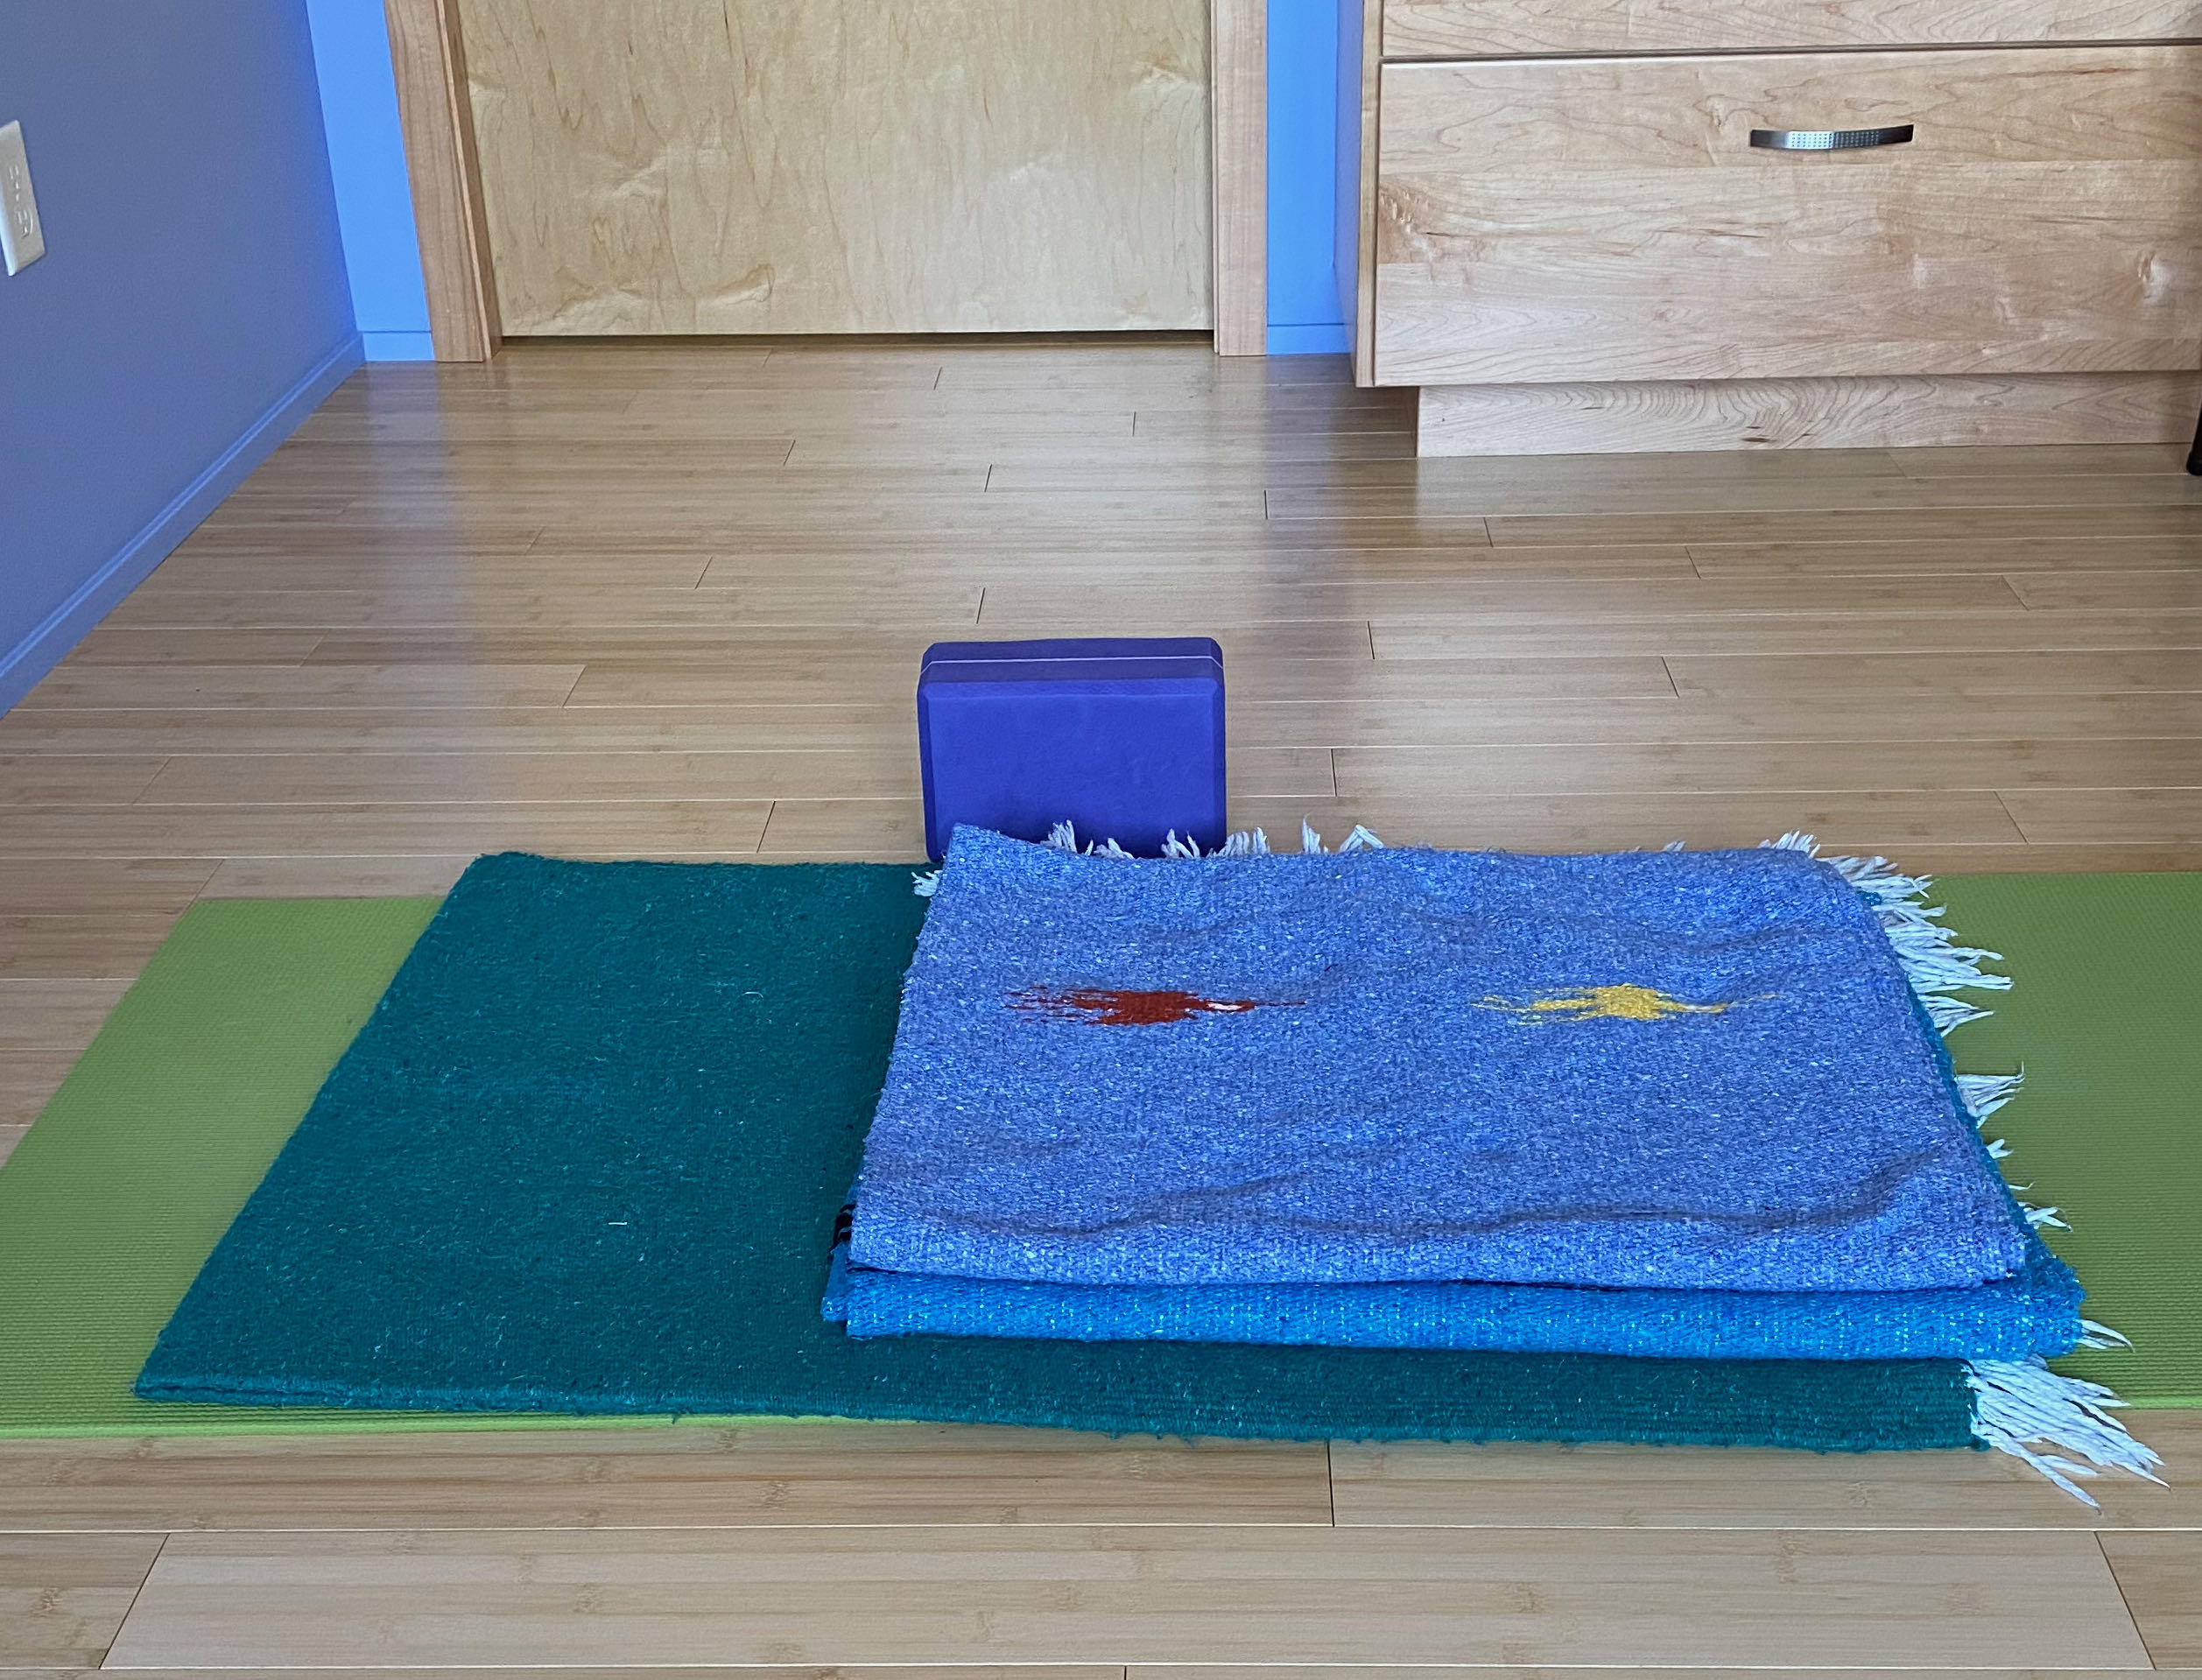
- Create your support, and then be up on your knees in front of it. When you sit down, you should be about a fist width away from the back support.
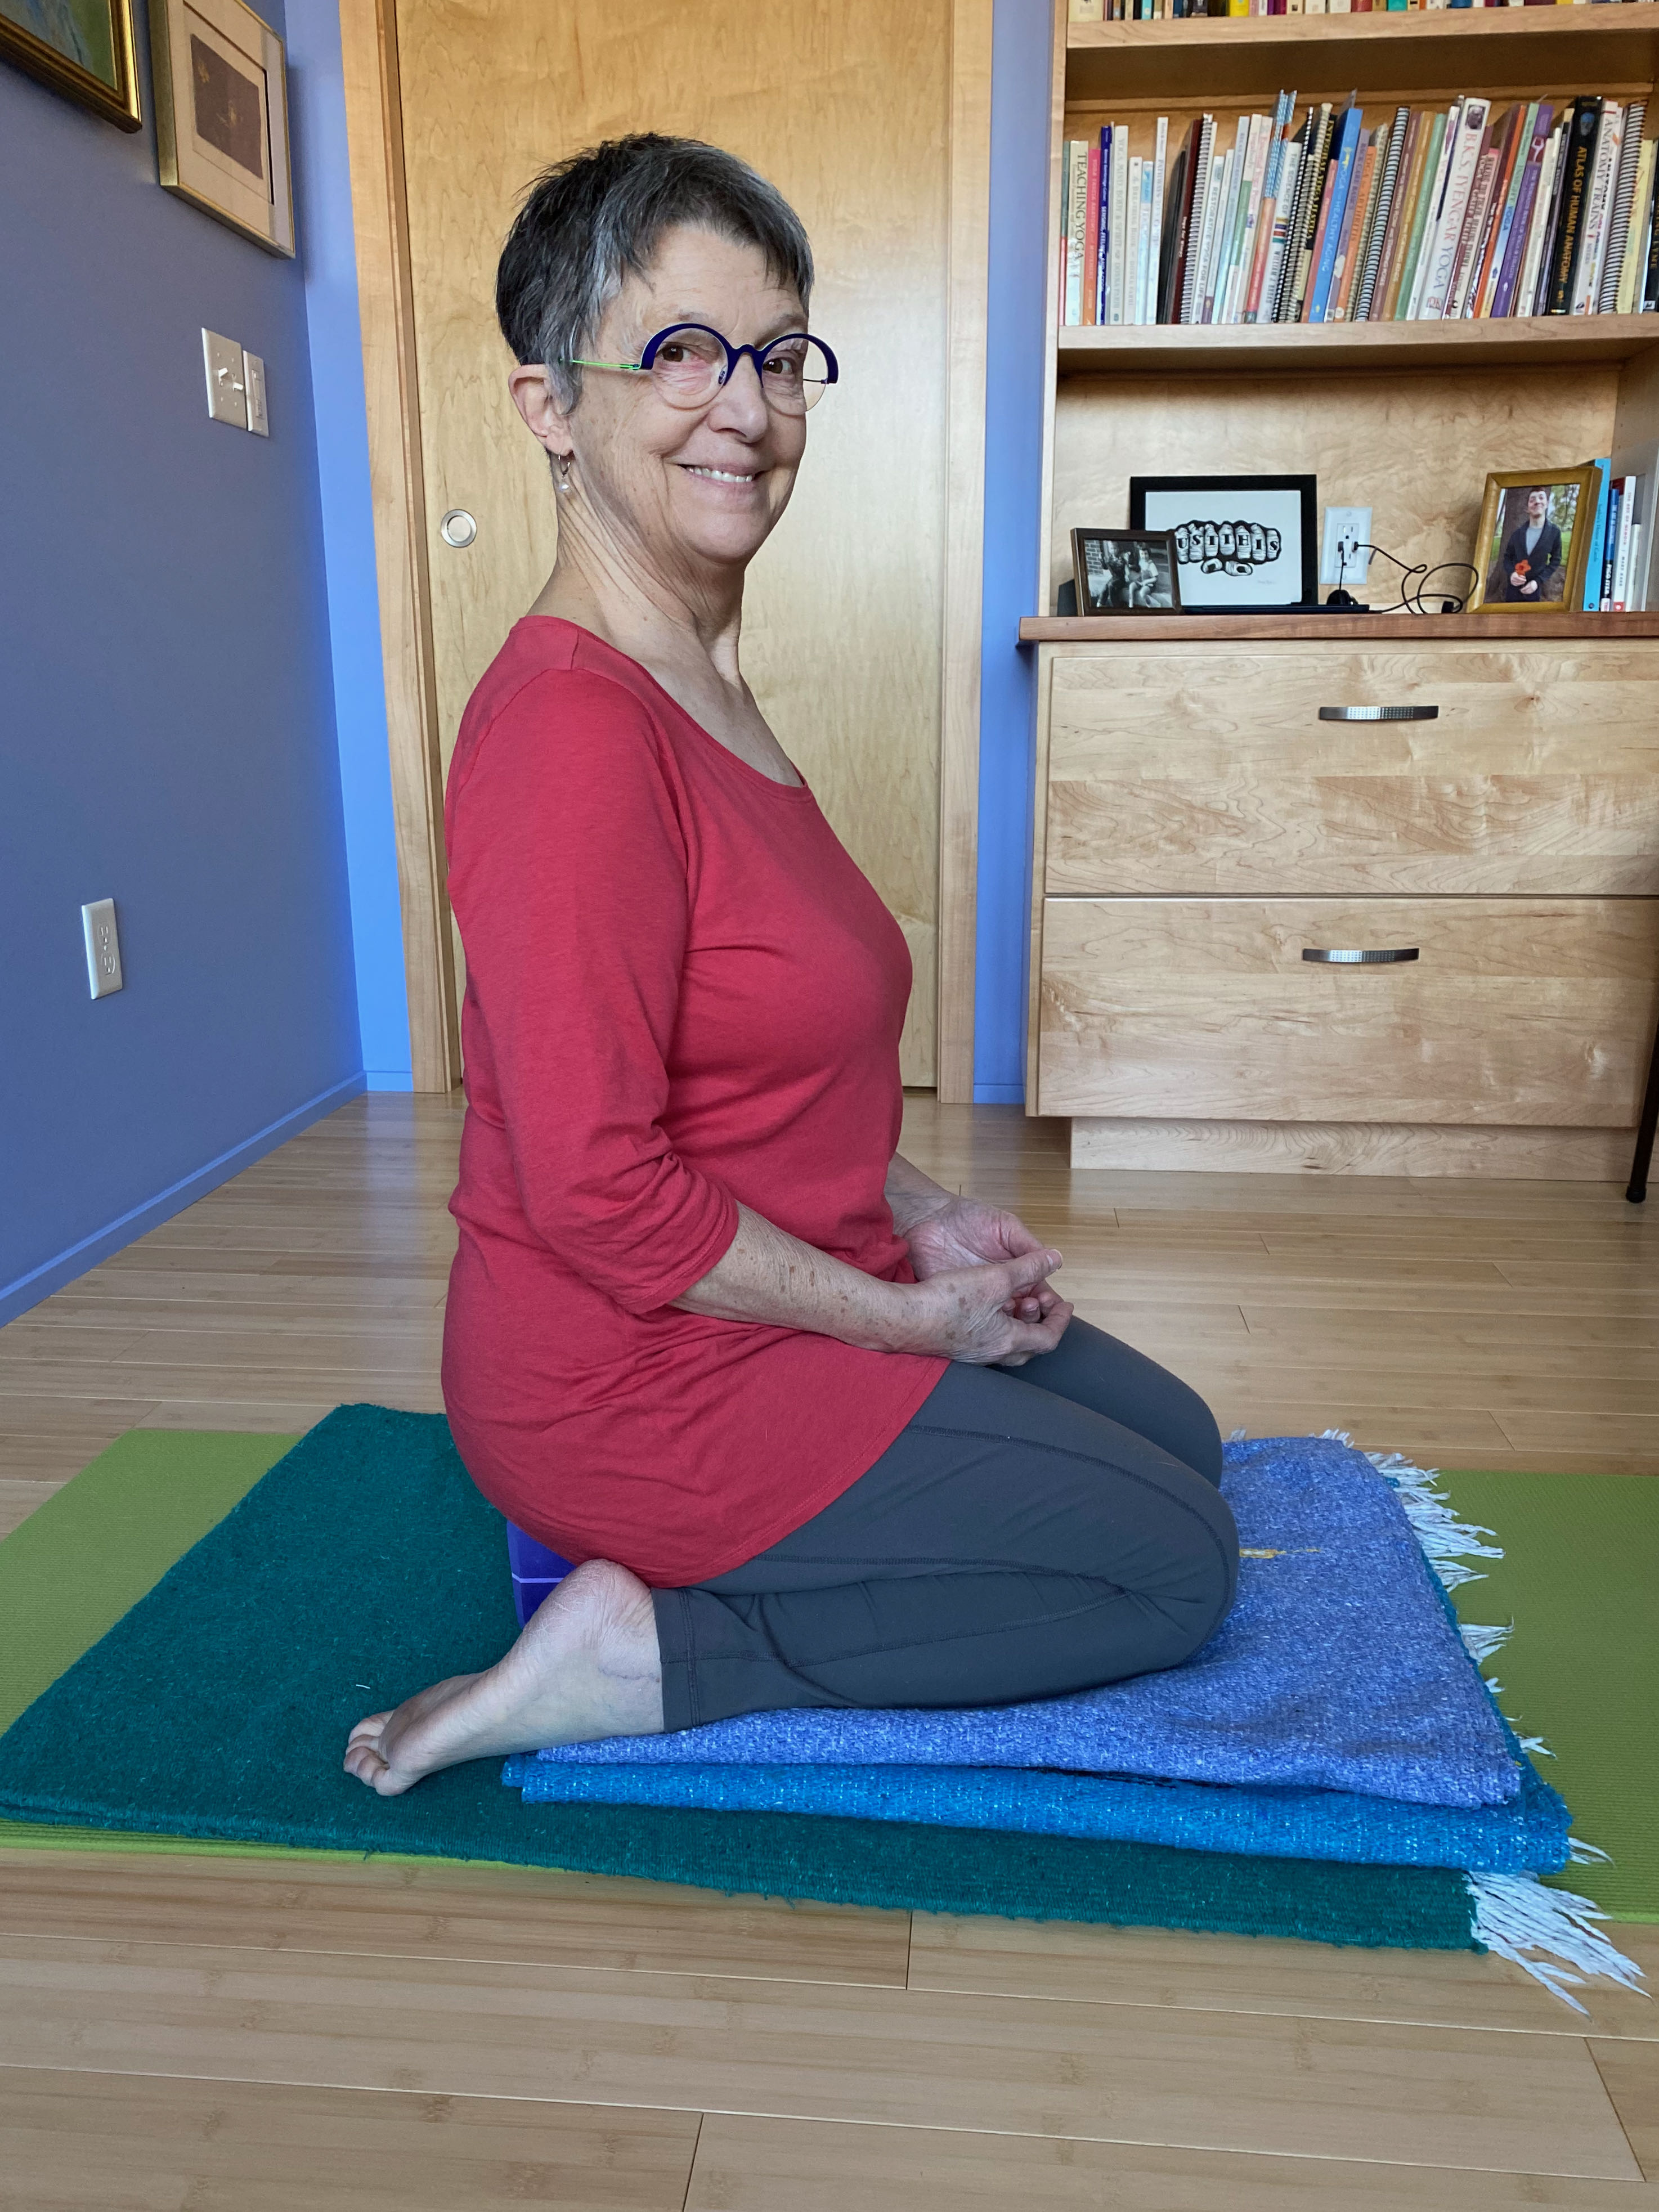
- Sit down into Virasana.
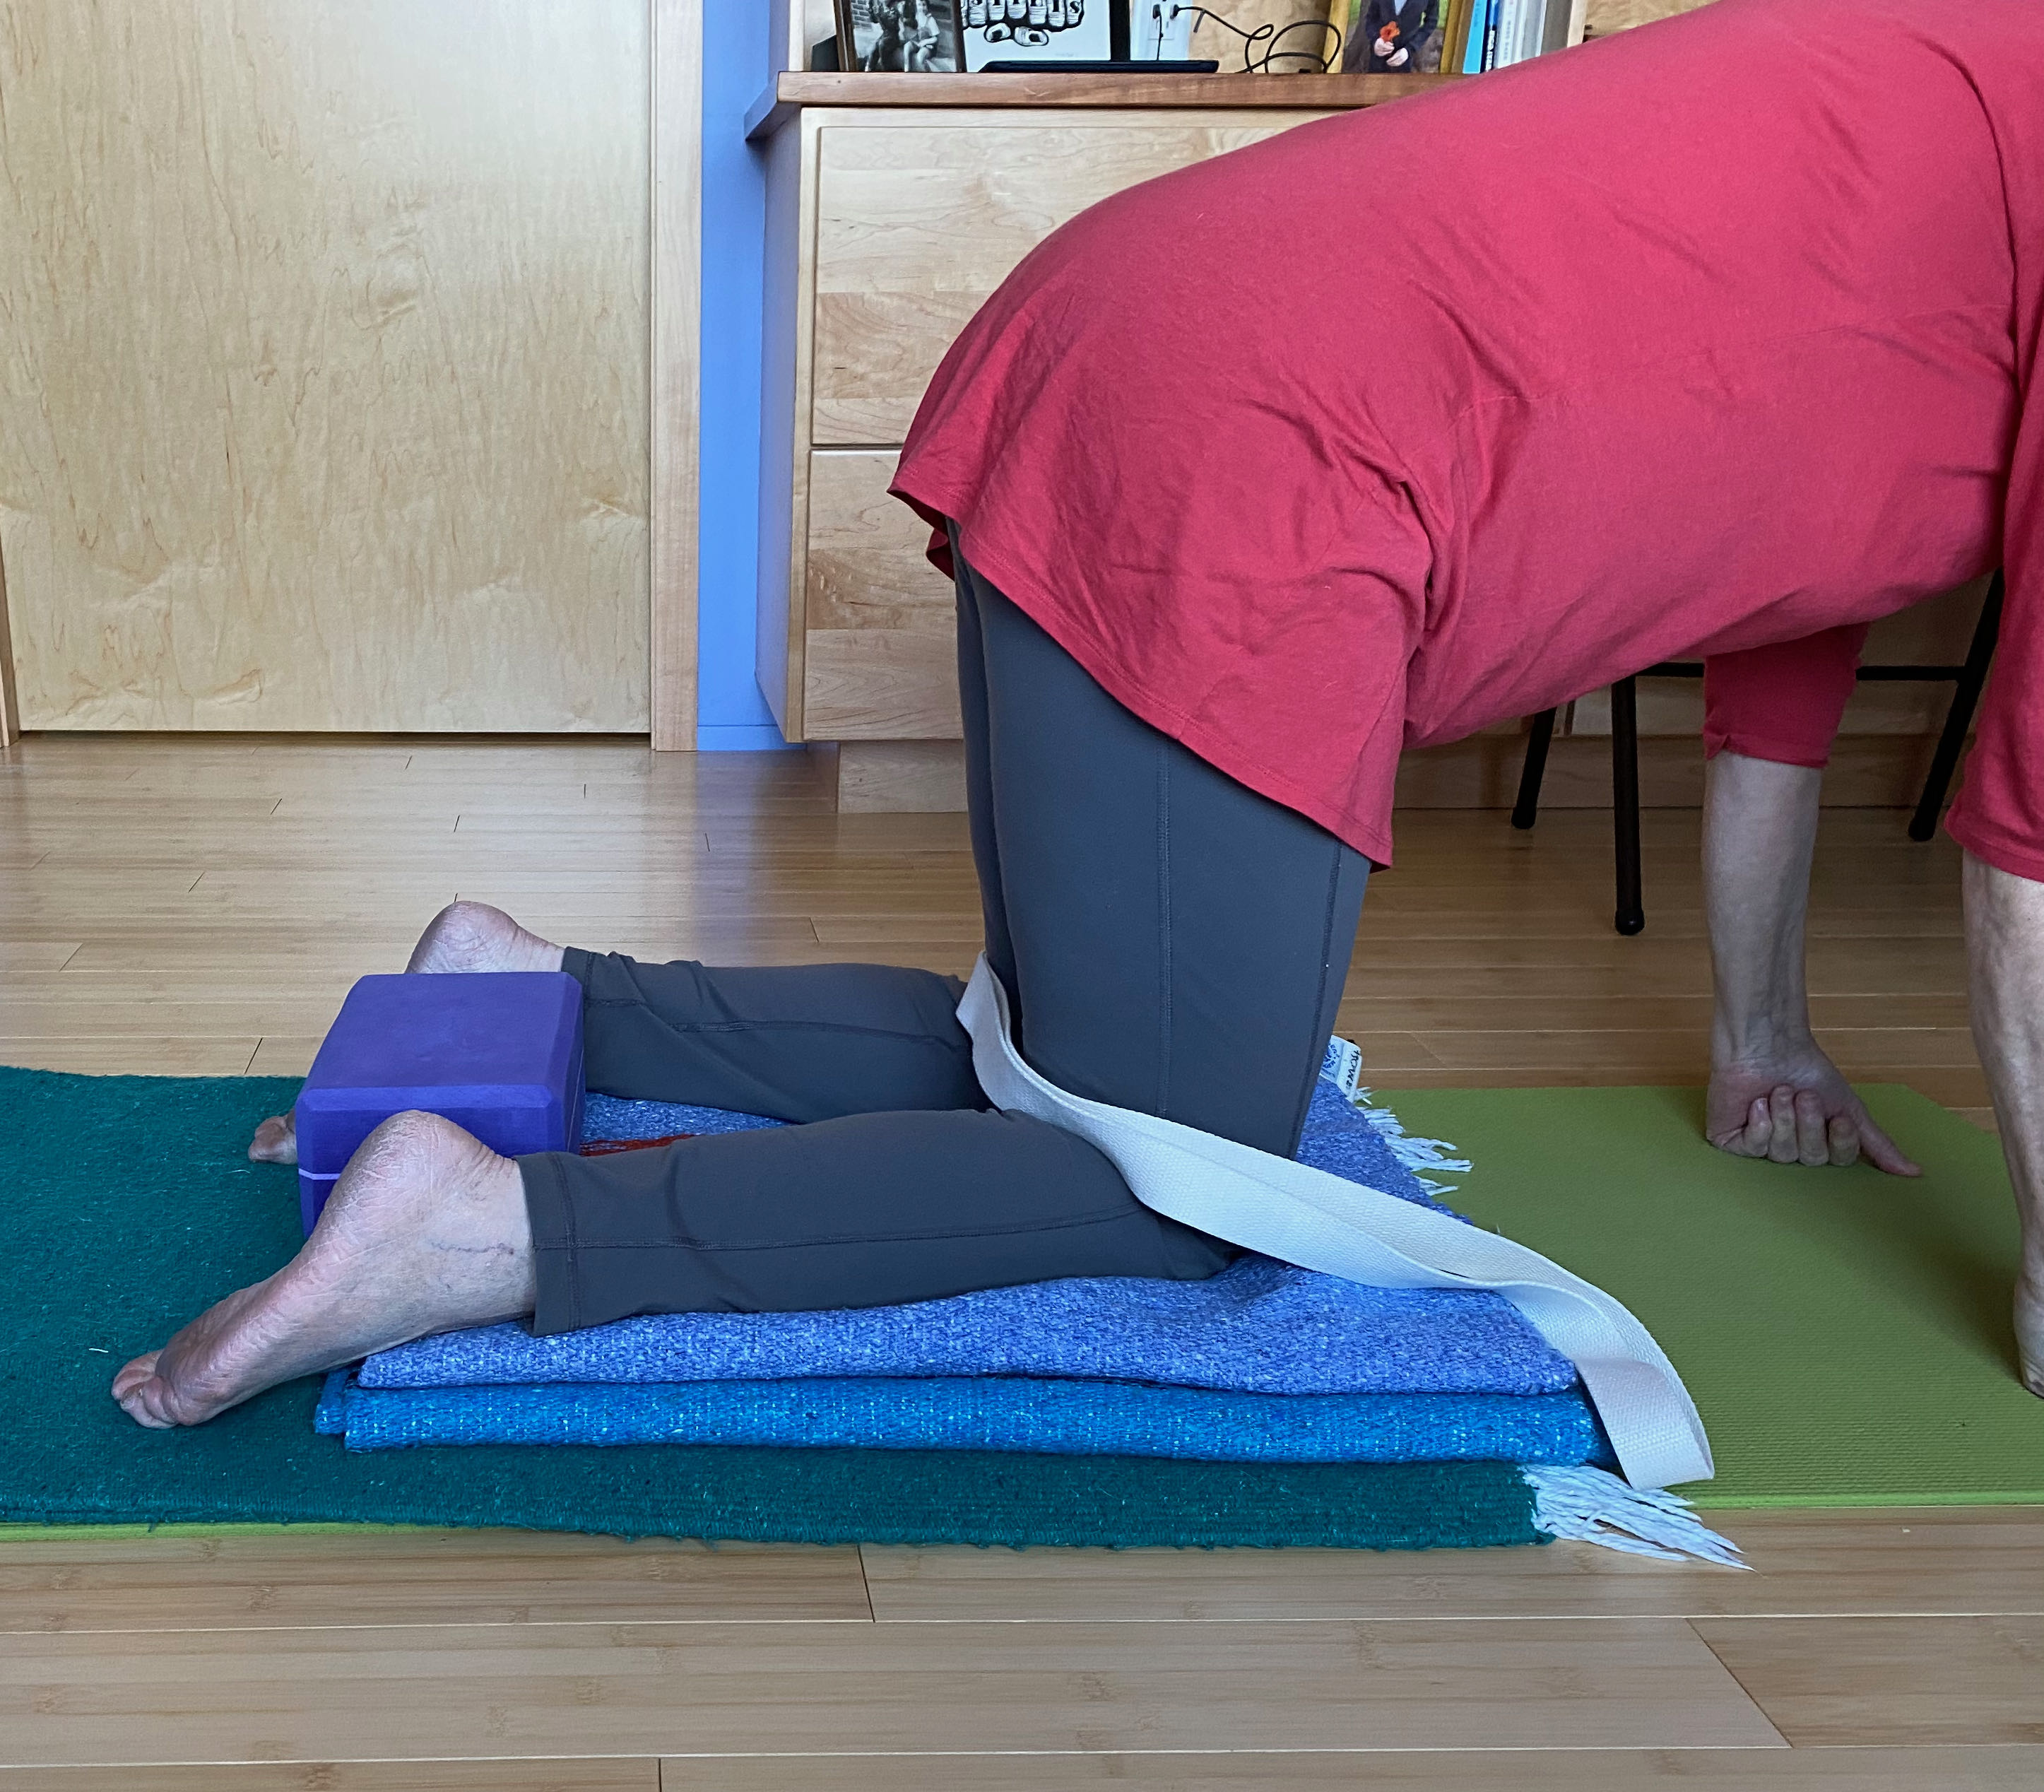
- Bring one leg out of Virasana so that your foot is on the floor in front of you. I’m calling this the up leg. The folded leg is the down leg.
- Put a support under that hip. This could be a block or a folded blanket. The idea is to even out your hips. You may need support under both hips, with a little extra under the up leg hip. Your goal is to be balanced side to side so that you are not tipping in the direction of the down leg.
- Extend back, using your hands and then forearms to support you. Keep extending your tailbone down and in, and your upper spine and head away from your tailbone.
- Depending on your support, you may need additional propping under your hands and arms. Your arms rest comfortably out to your sides, not across your abdomen or hanging loosely from your shoulders.
- Stay in the pose for a few minutes, and then come up and switch legs.
To come out of the reclining pose
- Put your forearms (or hands, if you’re really upright) on the mat as far back as you can beside you, and use them to push your torso up.
- Come up using your chest first, head last. This will help prevent neck strain.
- If your neck needs extra support, put one hand on the back of your head as you push up with the other hand.
- Extend your legs out in front of you.
Setup variations
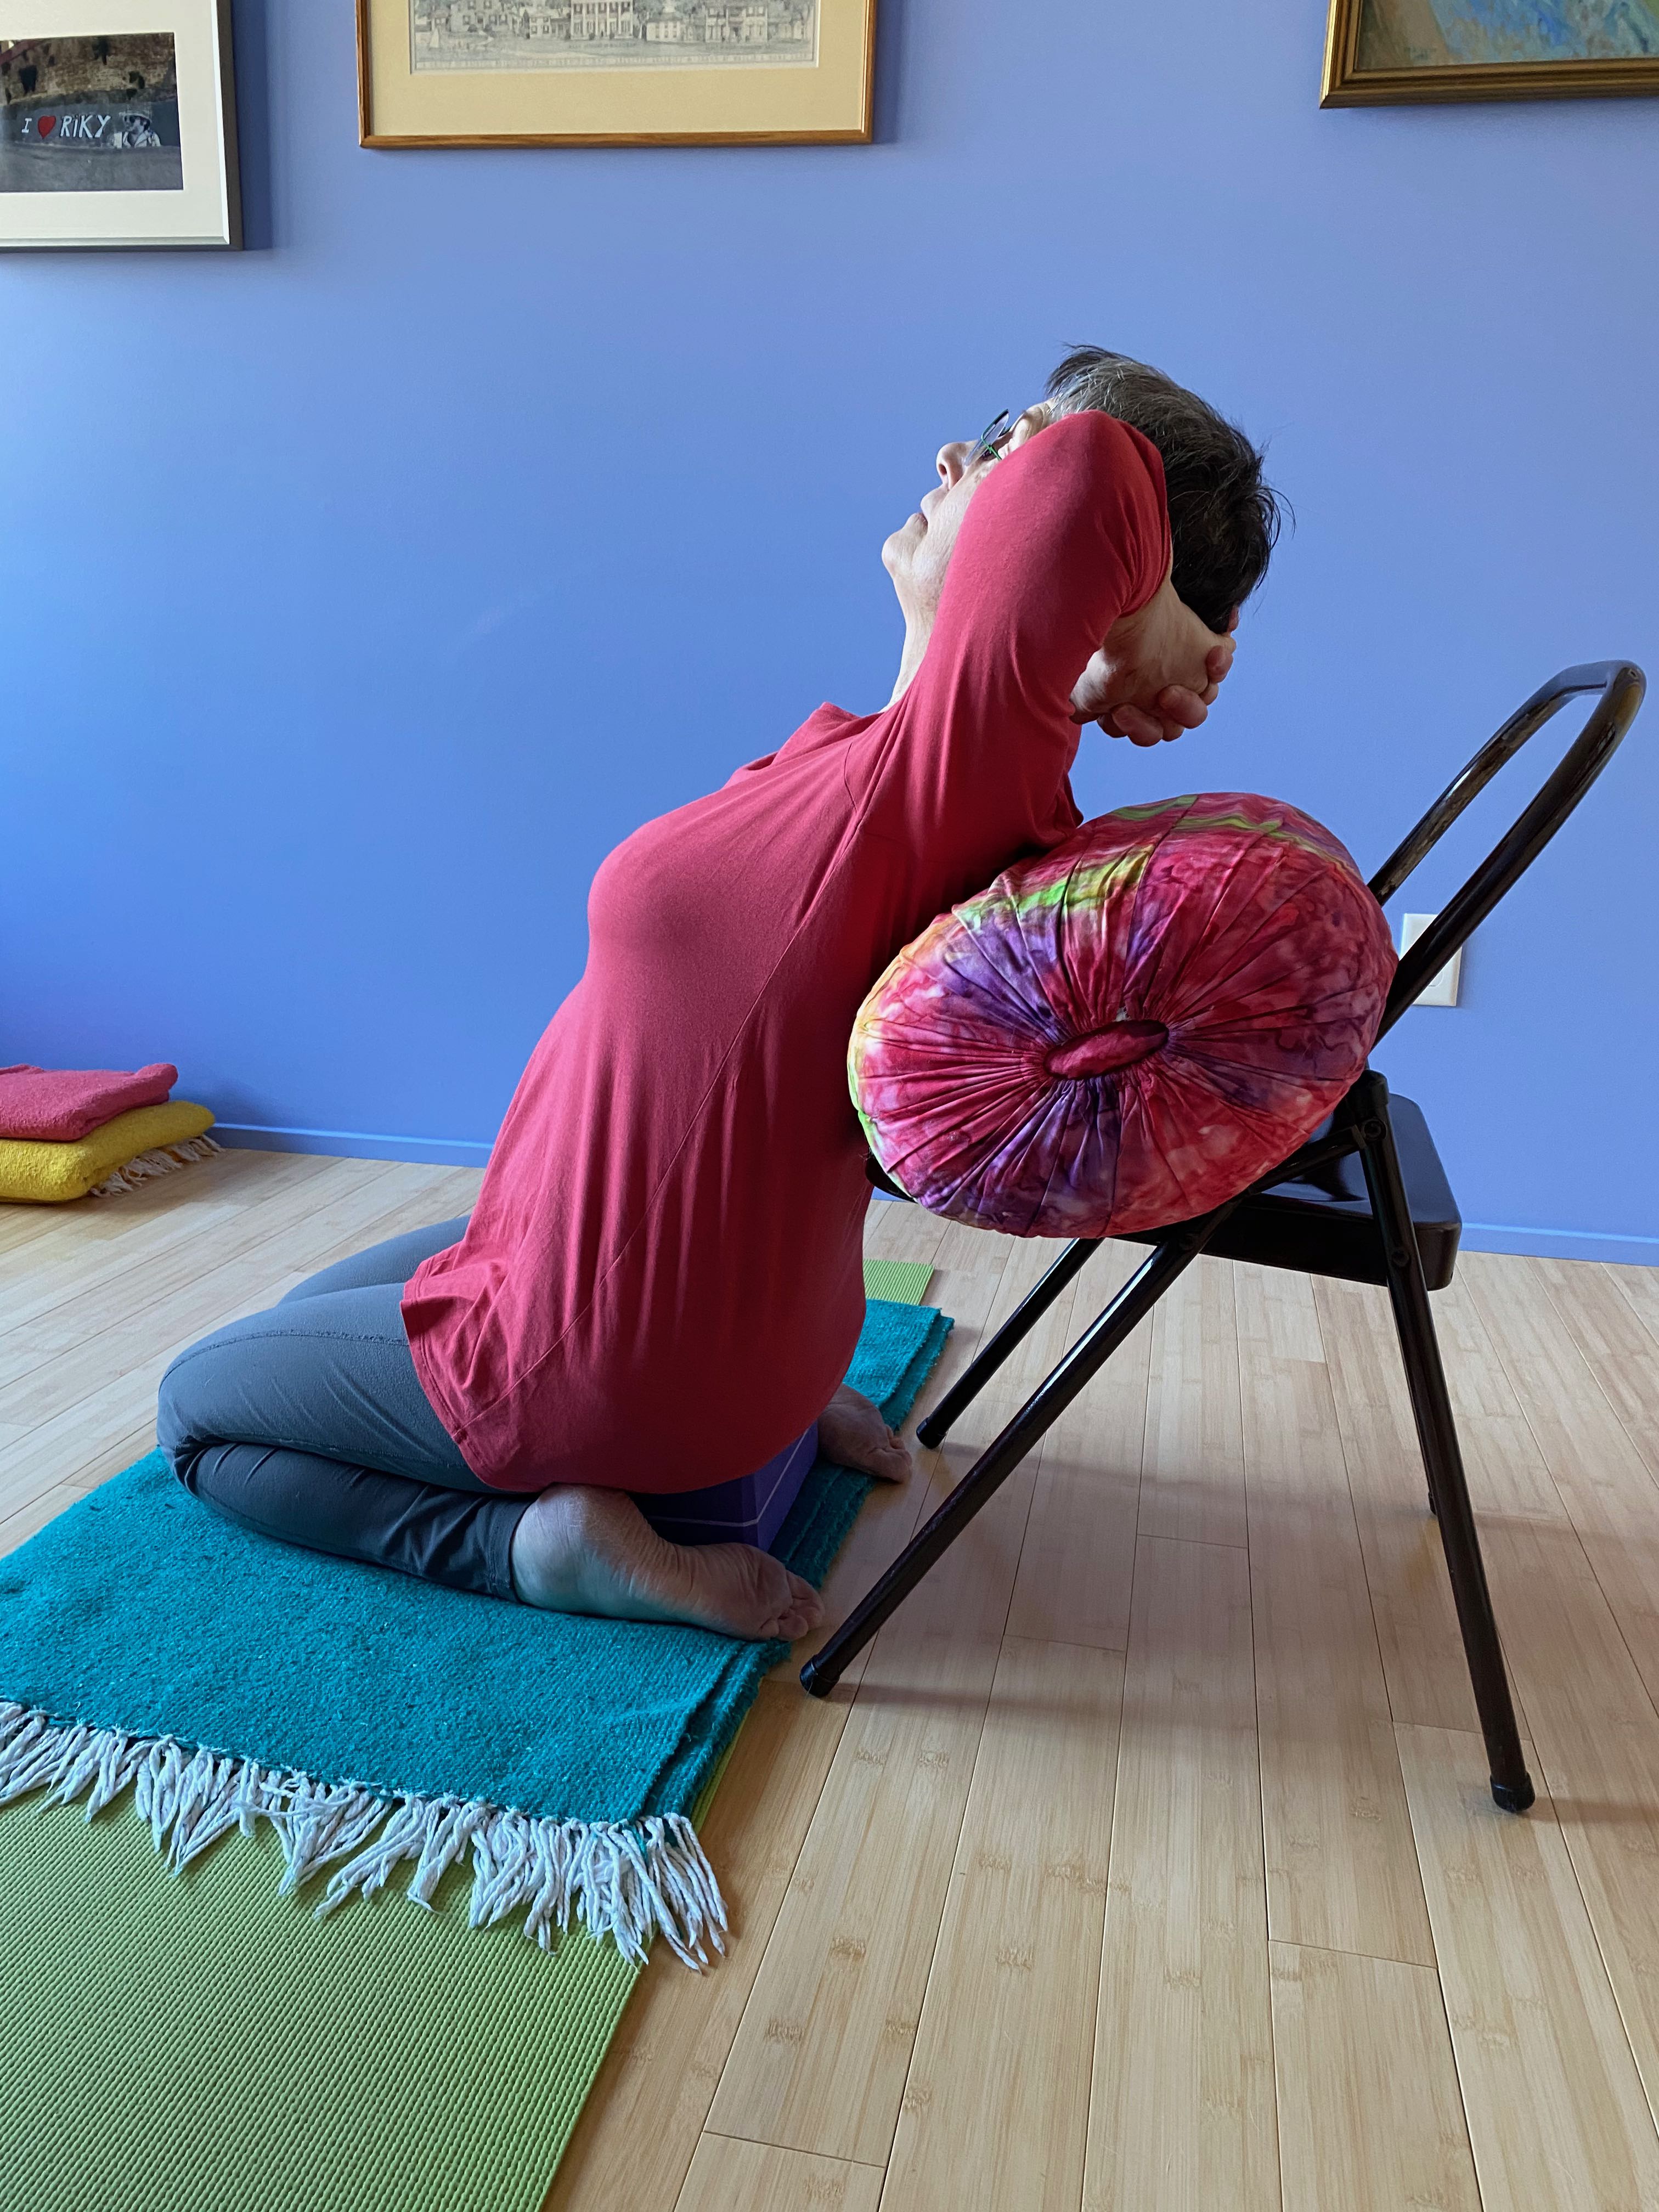
Chair and bolster(s) behind you, both legs in Virasana.


Bolsters and blankets against the wall, one-leg version
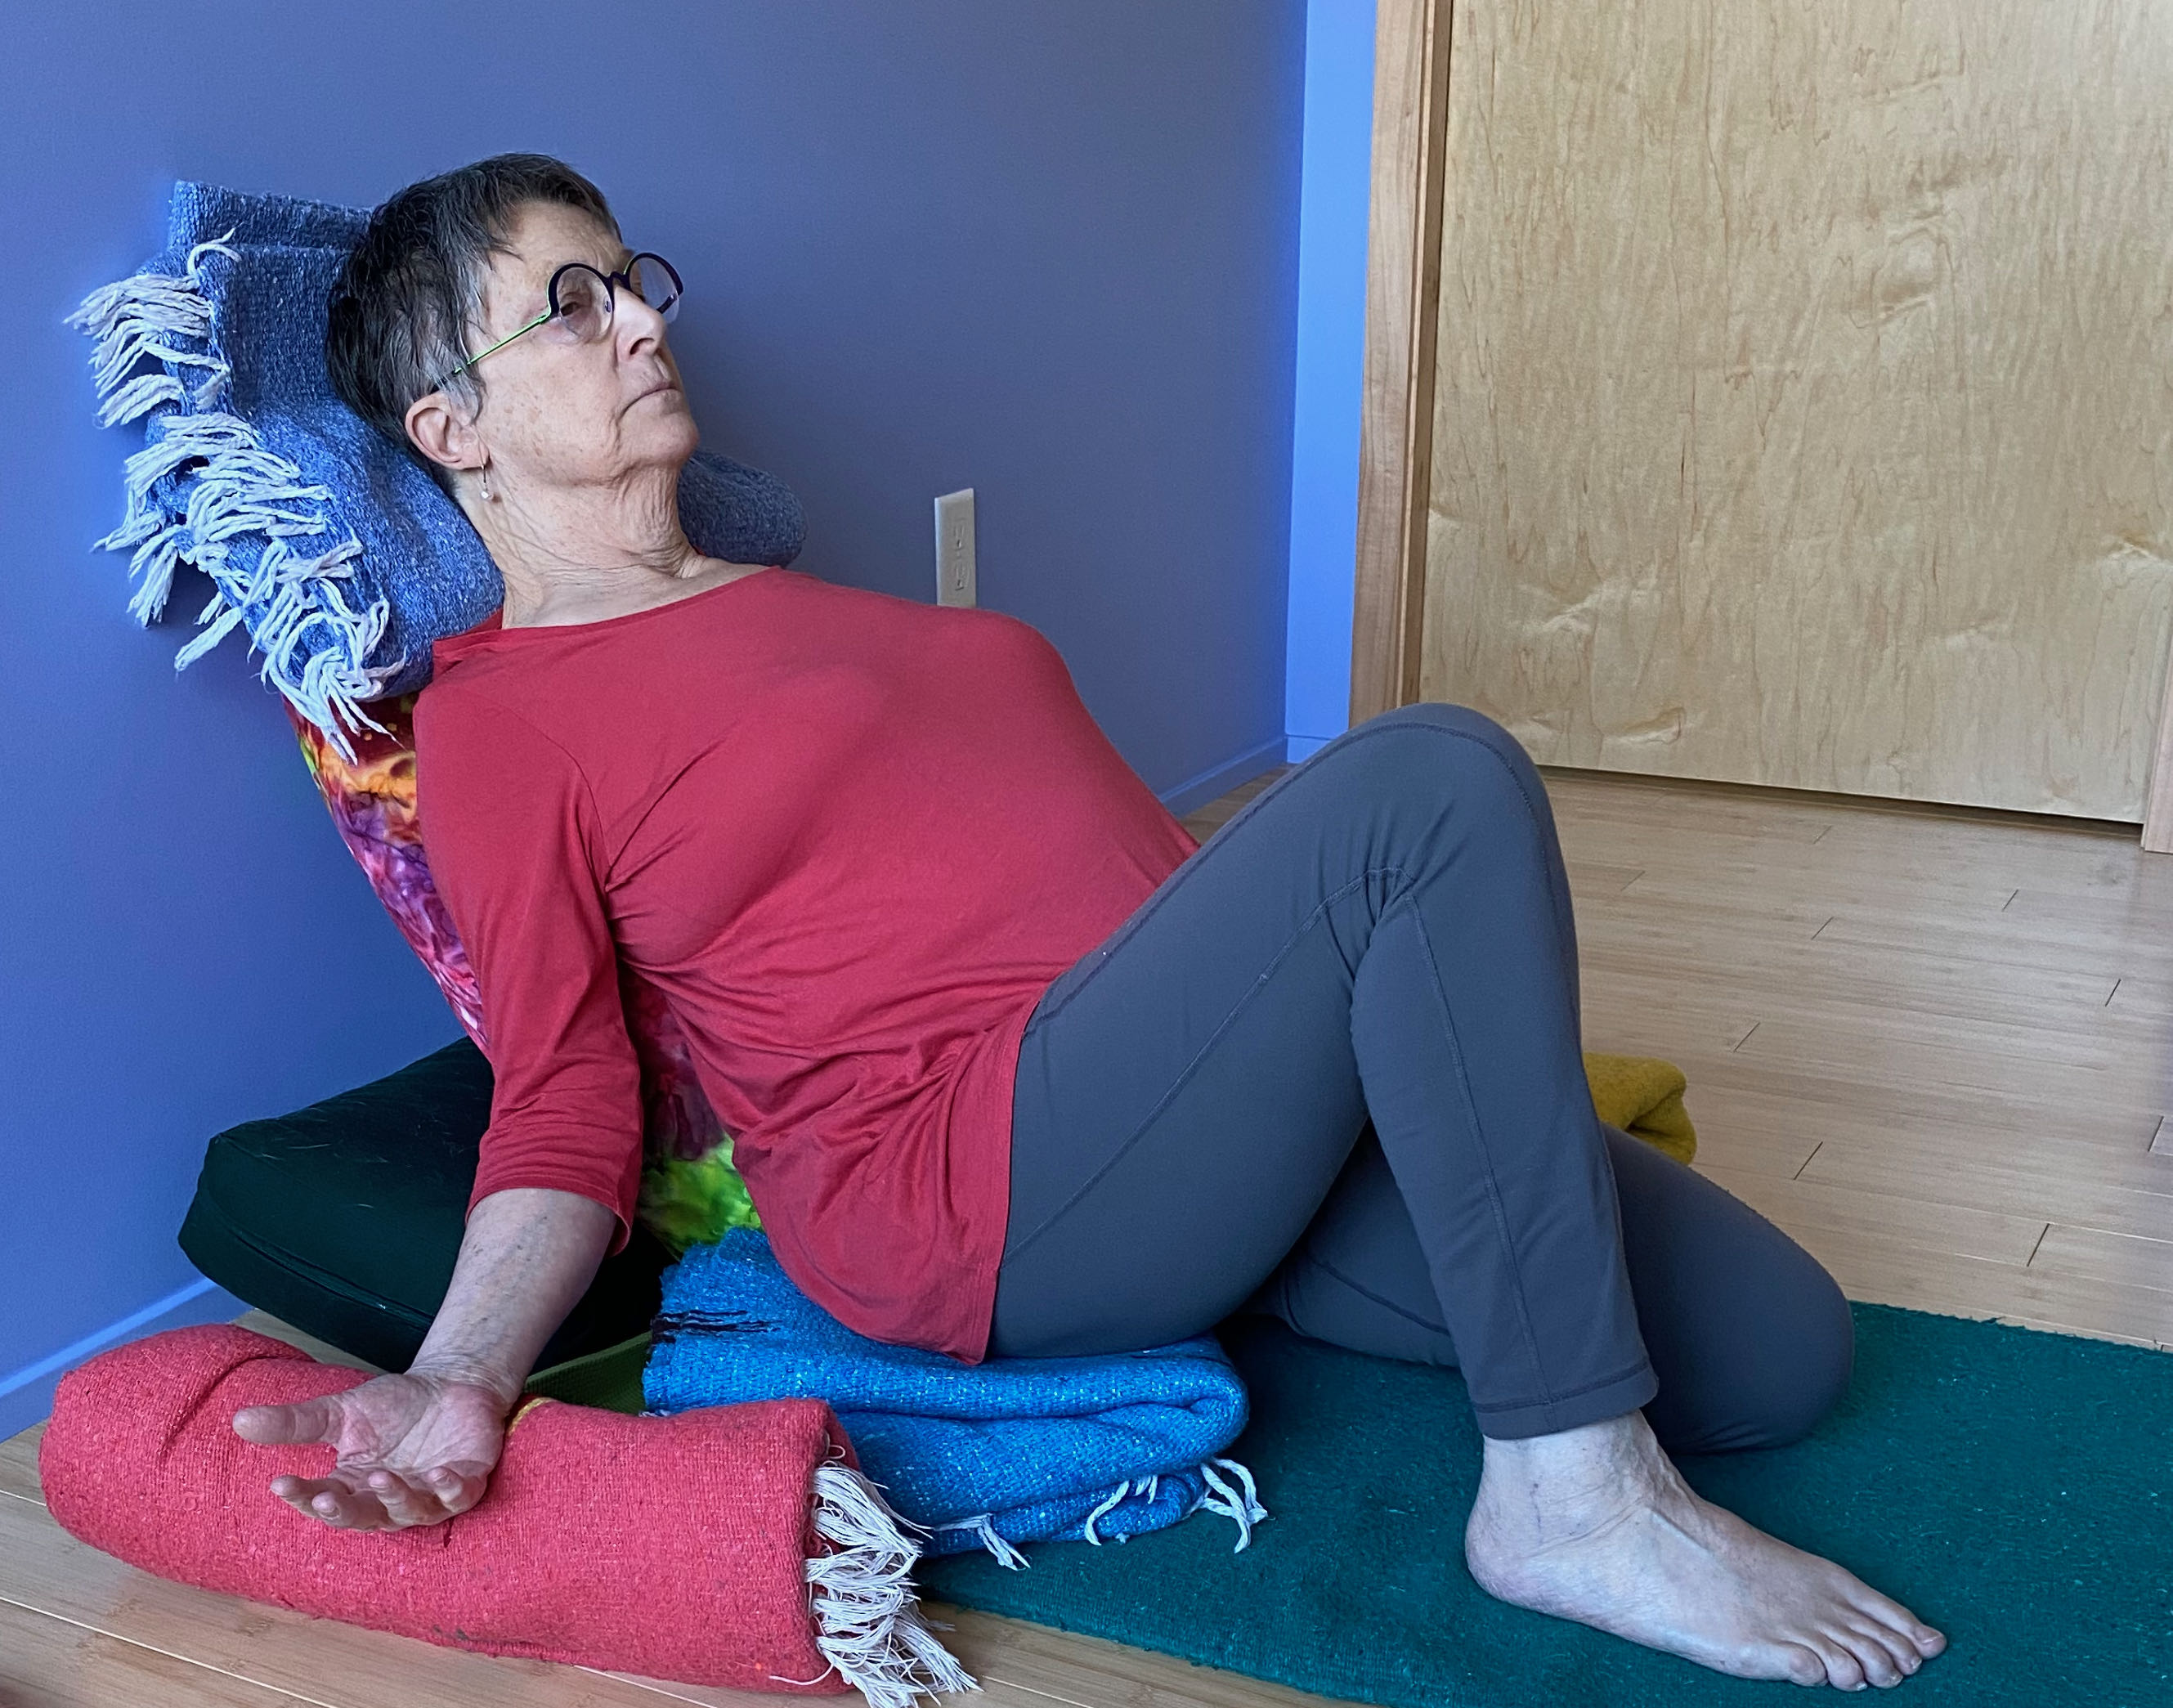
Upside-down chair setup

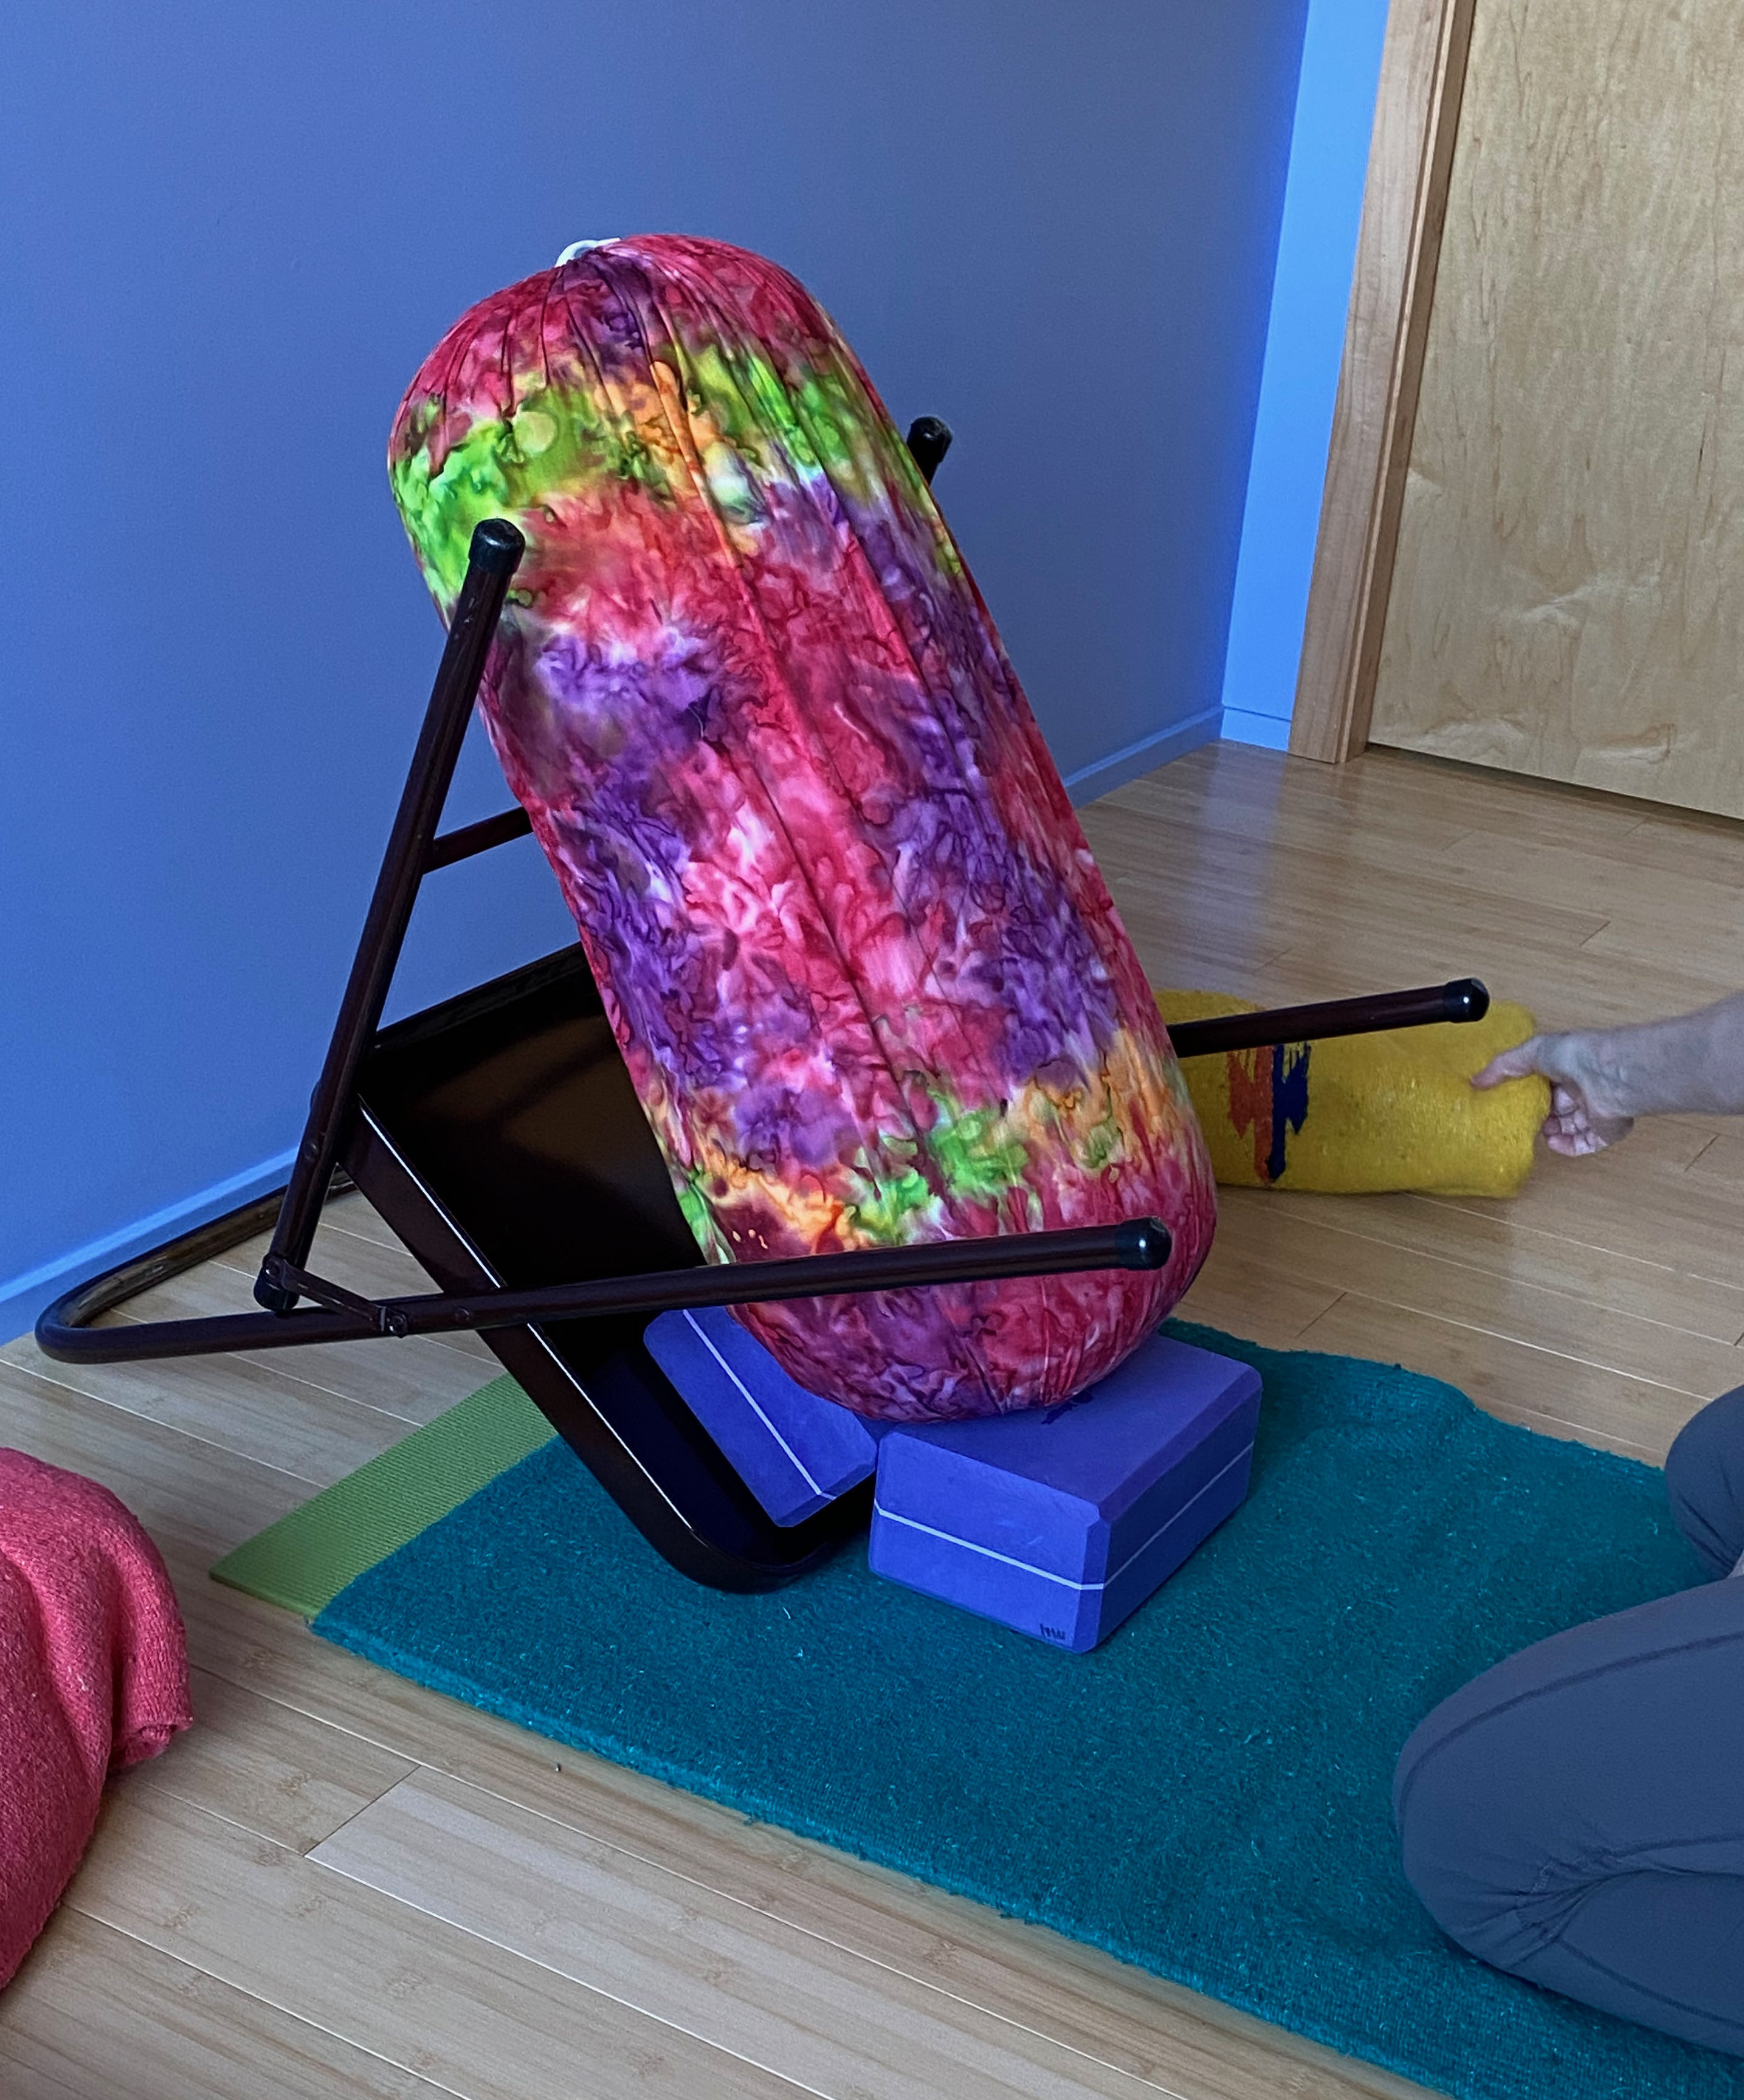

Two blocks against the wall, two ways
The blocks are used in three possible orientations, Papa Bear (tallest), Mama Bear (middle height), and Baby Bear (lowest). Place the higher one against the wall, and the lower one just a few inches away. When you lean the bolster up against the blocks, it will be just barely touching the higher block. Resist the temptation to take the bolster all the way on top of that block.
One-leg with block and bolster support


One-leg with bolster support

